Take a look on the following page too to get an overall knowledge how equations are written in Autoedsk Inventor. Formulas for "Everyday" Use.
Videos Tutorials on Autodesk Inventor, SolidWorks, Solid Edge, Siemens NX and Pro E Wildfire/Creo Parametric
Saturday, March 30, 2013
Using equations in Autodesk Inventor
Take a look on the following page too to get an overall knowledge how equations are written in Autoedsk Inventor. Formulas for "Everyday" Use.
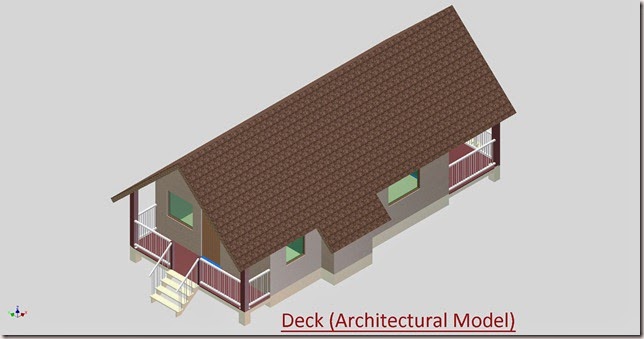
Deck (Architectural Model) Autodesk Inventor 2012
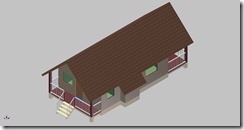
Above picture was before applying the Visual Stiles and the following images are after applying the visual styles:--
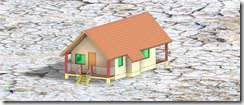
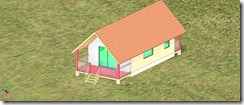
There are many setting that can be done after applying predefined styles.
Hyperbola from 2D Equation Curve (Autodesk Inventor 2013)
Serial No. 127
Hyperbola from 2D Equation Curve (Autodesk Inventor 2013)
Click the following link to get the model file: - httphttp://bit.ly/2mGa7iK
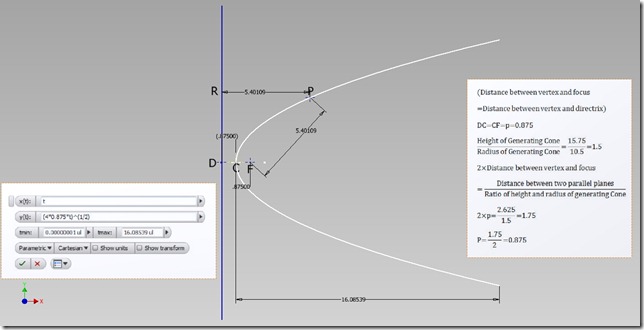
Parabola from 2D Equation Curve (Autodesk Inventor 2013)
Serial No. 126
Parabola from 2D Equation Curve (Autodesk Inventor 2013)
Click the following link to get the model file: - http://bit.ly/2npGd2p
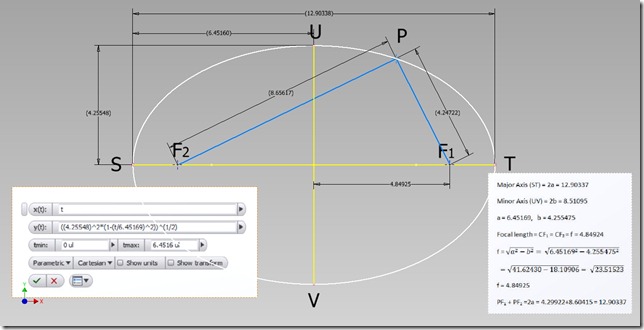
Ellipse from 2D Equation Curve (Autodesk Inventor 2013)
Serial No. 128
Ellipse from 2D Equation Curve (Autodesk Inventor 2013)
Click the following link to get the model file: - http://bit.ly/2ILdUmS
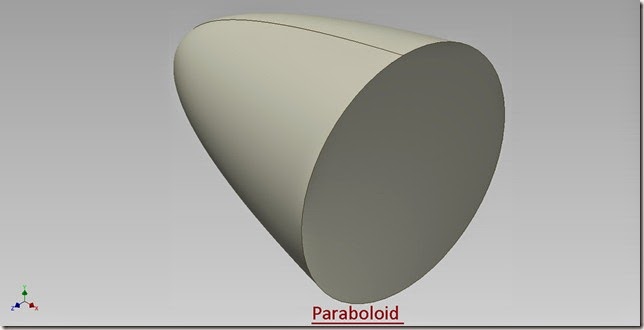
Paraboloid (Autodesk Inventor 2012)
Serial No. 69
Paraboloid (Autodesk Inventor 2012)
Click the following link to get the model file: - http://bit.ly/2noGzpS
Hyperboloid (Autodesk Inventor 2012)
Serial No. 51
Hyperboloid (Autodesk Inventor 2012)
Click the following link to get the model file: - http://bit.ly/2mkA9Ij
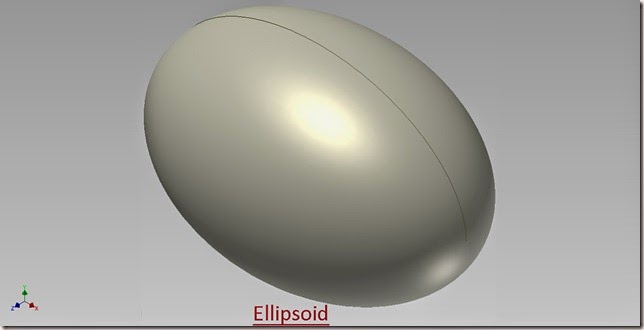
Ellipsoid (Autodesk Inventor 2012)
Serial No. 32
Ellipsoid (Autodesk Inventor 2012)
Click the following link to get the model file: -http://bit.ly/2nIXzr6
Wednesday, March 27, 2013
Use of View Representation (Autodesk Inventor 2012)
Following video gives an over view of Architecture Model that was created with the aid of Autodesk Inventor Software.
You can understand step by step modeling process of the Deck and it gives the various isometric views of the models too.
I utilized the view representation feature of Autodesk Inventor to create the above video.
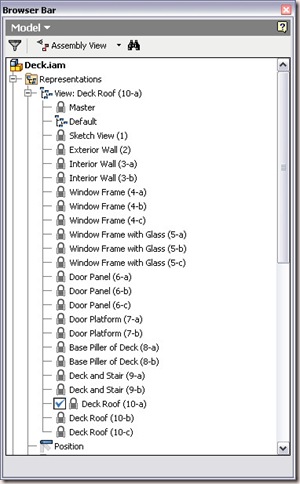
View representations allow the user to control the visibility and appearance of components in the assembly. Creating Several View representations allows a use or multiple users to see the assembly in whatever way they want.
Download this 3D CAD Model and check the browser bar, there are various view representations available.
Double click any view representation to activate it. Start clicking from top to bottom. This shows step by step modeling process of the Deck Model.
To download the finished file, visit the following link: -- http://adf.ly/LbvSy
Monday, March 18, 2013
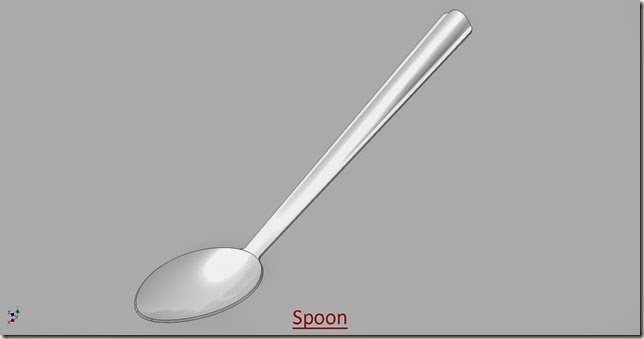
Spoon (Autodesk Inventor 2012)
Serial No. 131
Spoon (Autodesk Inventor 2012)
Friday, March 15, 2013
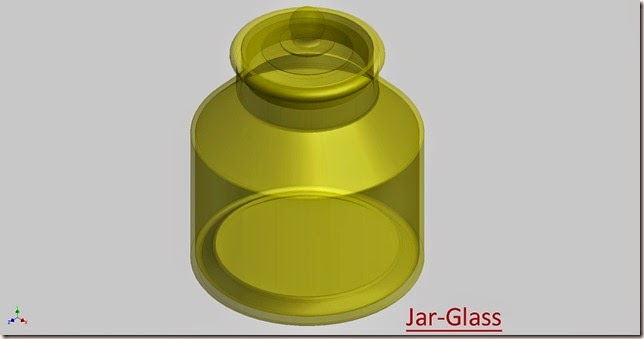
Jar–Glass (Autodesk Inventor 2012)
Serial No. 130
Jar –Glass (Autodesk Inventor 2012)
Click the following link to get the model file: - http://bit.ly/2nxfS2k
Sunday, March 3, 2013
Deck (Architectural Model) by Autodesk Inventor 2012
Serial No. 129
Deck (Architectural Model) Autodesk Inventor 2012
Click the following link to get the model file: - http://bit.ly/2mEM9Ez
-
Serial No. 299 How to write subscript and superscript text in Autodesk Inventor (with caption and audio narration) Transcription of the V...
-
Serial No. 1 Allen Screwdriver (Autodesk Inventor 2010) Click the following link to get the model file :- http://bit.ly/...
-
Serial No. 347-B. Dear Viewers, Today we will design the 'Car Engine (2 Turbo V6) Advanced Assembly Designing' in the Auto...


