Serial No. 143
Application of Split Tool-Autodesk Inventor 2012 (with caption and audio narration)
In this Video, we will describe 'Split' Tool and its application in cutting a segment from an intact face.
Click the following link to get the drawing sheet of the model: http://bit.ly/2m51dLC
Transcription of Video
Application of Split tool
In this Video we will describe about ‘Split’ Tool and its application in cutting a segment from an intact face.
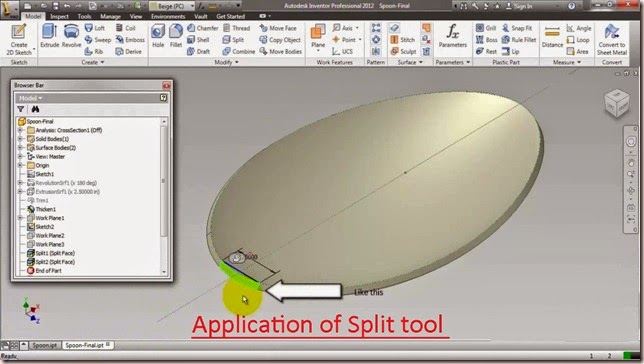
- At present this face of the Spoon is intact. We need a segment of this face according to our design like this.
- To do so, first we will create a Work Plane on the top edge of the Spoon.
- Now we will create a line of 0.25 inch on this Work Plane.
- We will use the ends of this line to create new Work Planes later.
- These newly created Work Planes will be used as Splitting Tool.
- Now start the ‘Split’ Tool.
- Select ‘Split Face’ option in the Split tool dialog box.
- Select the Work Plane for the splitting tool.
- Use the Select face button for faces.
- Select the intact face of the Spoon and click Apply.
- Repeat the same process for next split.
- So this is the segment of face which was split.
- We can change the colour of this face to yellow. So that it can be recognized easily.


No comments:
Post a Comment