Computer Mouse (Autodesk Inventor 2012)
In this
part/assembly modeling tutorial of Autodesk Inventor we will create a model
named ‘Computer Mouse’which is quite similar to Wacom Intuos 2 Mouse. The assembly of this model is created using five
components. Following exploded view of the model shows it clearly.
 |
| Exploded View of the Computer Mouse |
First part
is quite simple after some basic sketching we will start our work using Extruded
tool with a taper angle command. Then two extruded cut feature will be
applied to complete the component.
 |
| First component of Computer Mouse with Autodesk Inventor |
Then the first component will be placed in the assembly and
the next component will be created in the context of first part. Later some
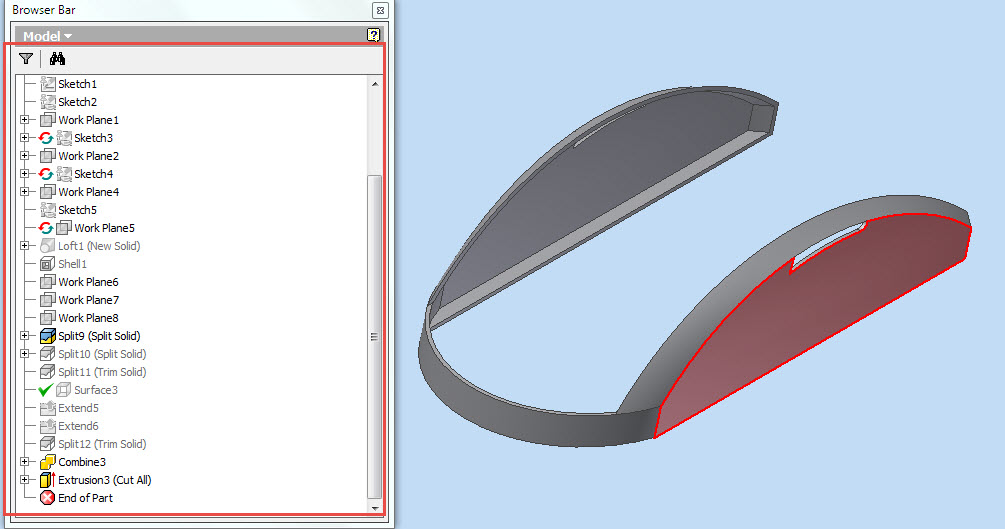
sketches will be created on different planes and a Loft feature will be used to
form a sold. Then a Shell feature will be applied to hollow the part. Some user defined work planes will be created to be used as trimming and splitting tool. At this stage we will save a copy of the current part using Make Part command. This section of the tutorial displays the application of Split
tool in a very professional manner . Later some Surfaces will also be
created to be used as Trimming tool in the aforesaid feature. In the end
all the remaining bodies will be combined. Again some Extruded Cut feature will
be applied to create holes for side buttons.
 |
| Second component of the assembly of computer mouse |
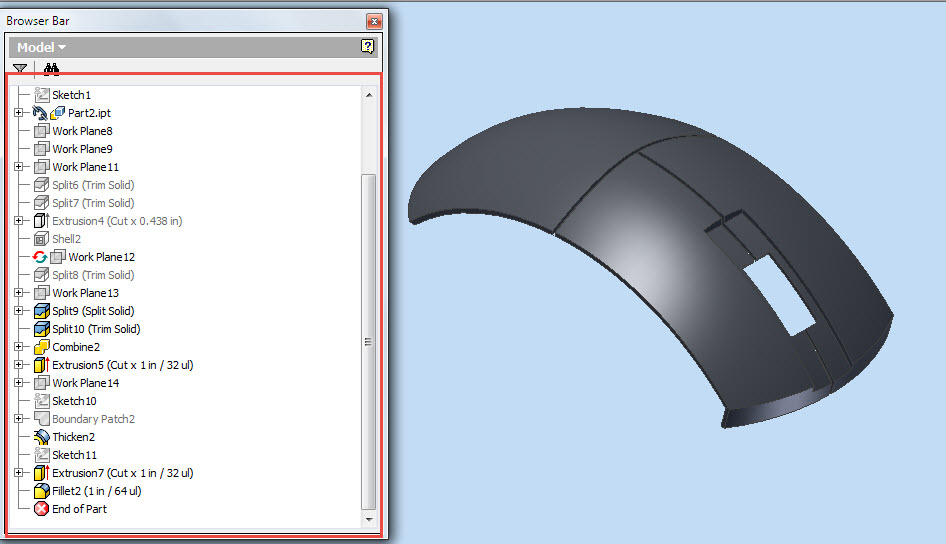
Next we will place the previously saved part in the assembly and modify it according to our design. Same type of Trim feature and other solid modeling tools will be applied to complete the model.
 |
| Third component of the assembly of computer mouse |
The remaining components are quite common and I think there is no need to discuss them right now. Just watch everything in action, the video is available below.


No comments:
Post a Comment