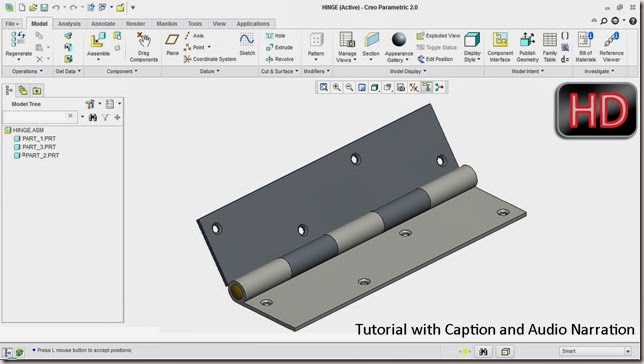
Video Tutorial with caption and audio narration
..............................................................................
In this Assembly Modelling Tutorial of Creo Parametric a mechanism of a Hinge is created by using predefined Pin constraint that is available in the software. First of all, the previously created components of Hinge will be placed in the assembly and then mates will be applied to set up the mechanism. To animate this mechanism read a related blog post by me Animation of Hinge || Using Creo Mechanism.
Click the following link to get the model file: -http://bit.ly/2nzc29d
Transcription of Video
-
We have following components of Hinge, which we will place in an assembly.
-
Later we will test its mechanism with the help of Drag Component tool.
-
Create a new assembly with default template.
-
Give it a name Hinge.
-
Place the part_1 in the assembly.
-
Drag the part so that you can see the Datum Planes of Assembly clearly.
-
Constraint Type is set to Automatic by default.
-
Apply a constraint between Right Datum plane of assembly and Right Datum Plane of part_1.
-
Add a new constraint and select Front Datum Planes of assembly and Front Datum Planes of part_1 to apply a coincident constraint automatically.
-
In the same way apply a coincident constraint between Top Datum Plane of Assembly and Top Datum Plane part_1.
-
Now STATUS area indicates that the component is fully constrained in the assembly.
-
Click the green check mark to apply and save the changes.
-
Now place the part_3 in the assembly.
-
Drag the part_3 and re-align it in the graphic window.
-
Select the axis of part_1 and axis of part_3 to apply a coincident constraint between them.
-
Drag the part_3 in the graphics window and apply a coincident constraint between its front datum plane and Front datum plane of the assembly.
-
Now the component is fully constrained in the assembly.
-
Place part_2 in the assembly.
-
Rotate the part and re-align it.
-
Select a predefined constraint named Pin.
-
Select the axis of part_2 and axis of part_3 to apply a coincident constraint between them.
-
Now click the Placement tab and define the reference of translation.
-
The STATUS area indicates the Connection Definition is complete.
-
Click the green check mark to apply and save the changes.
-
Give away different colours to the parts of the assembly so that they can be recognized easily.
-
Align the model in an isometric view using Re-orient tool.
-
Clear the screen by closing the visibility of Datum planes, axis, points and everything else.
-
Select the top face of part_2 and drag it with the help of Drag Component tool to check the mechanism of Hinge assembly.
-
Only part_2 of Hinge can be moved because we applied a pre-defined Pin constraint on it.
-
Re-generate the file and save it.


No comments:
Post a Comment