Serial No. 194
Creating a new Part on the curve surface in Assembly-Autodesk Inventor 2013 (with caption and audio)
In this exercise, a pre constructed part file (Base) is utilized, which is taken from our model ‘Can’.
Click the following link to get the model file: - http://bit.ly/2nO8BeB
Transcription of Video
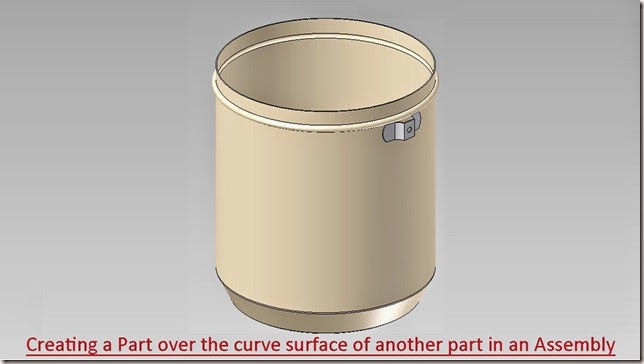
We have following cylindrical component named ‘Base’ in our incomplete assembly.
The target is to create and fix a ‘Clip’ on its cylindrical face.
- Now create a new component in the assembly with the name ‘Clip’.
- Select the Standard (in).ipt template for the new part file.
- Select the Centre point of the assembly as a base plane for the new component.
- Return back to the assembly environment by clicking Return icon.
- At present the part is not fully constrained in the assembly.
- Remove the degrees of freedom of the component (Clip) by applying Mate constraints.
- So, after applying the Mate constraints no degrees of freedom is left in the Assembly.
- Double click the Clip part to edit it.
- Create a new sketch on the XY Plane of the Clip.
- Take the project of base part with the help of Project Cut Edges tool.
- Convert all the sketches into construction geometry.
- Exit the sketching environment.
- Create a new Work Plane on this point, perpendicular to projected vertical line of the base part.
- Create a new sketch on this work plane.
- Take the project of base part once again.
- Exit the sketching mode and change the name of the sketch as ‘Base sketch of Clip’ in the Browser Bar.
- Again enter in the sketching environment.
- Draw the desired sketch with the aid of 2D sketching tools as displayed.
- Use the constraints to properly position the sketch.
- Convert unwanted sketches into construction geometry.
- Now our base sketch is complete.
- Finish the sketch and start a new sketch on the same work plane.
- Take the project of following intersection points and arcs of the sketch.
- Close the visibility of the base sketch to see the projected points and arcs clearly.
- Complete the sketch as displayed.
- Now our sketch is complete so exit the sketching environment.
- Extrude this sketch profile 5/8 inch in the downward direction.
- Change the colour of the Part to ‘Steel’.
- Return back to the assembly environment.
- Check the interference between the both parts with the help of ‘Analyze Interference’ tool that is available on the Interference panel of Inspect tab.
- Activate the tool, first select the Base part and then the Clip, click Ok to Analyze.
- There was no interference detected.
- Edit the Clip part once again.
- Create a new sketch on the front face of the Clip.
- And draw sketch profile as displayed.
- Extrude the sketch profile and select Cut option in the extrude dialog box.
- In the Extents field select ‘All’ from the drop down list to remove the material from the Clip.
- Mirror this extrude feature with the aid of Mirror tool.
- Select XY Plane of the Clip as mirroring plane.
- Now create a hole on the front face of the Clip.
- Hole should lie on centre of the front face.
- Now our model is complete.


No comments:
Post a Comment